Embedded systems design, Microchip PIC , Microcontroller , Electronics , Software , Computer , PC,Embedded Systems in Egypt , Microcontroller companies in Egypt , Microcontroller Tutorial for beginners, Microchip Microcontrollers tutorial , Microcontrollers made easy, Microcontroller DIY, DIY,embedded systems,embedded system , open source embedded software,list of embedded systems companies in Egypt, Quadcopter , Embedded Systems components in Egypt , Embedded Systems Components Stores in Egypt
Mturk Jobs
Mturk Jobs
Tank
Showing posts with label Arduino wifi shield. Show all posts
Showing posts with label Arduino wifi shield. Show all posts
Yesterday we knew how to add the ESP8266 board to Arduino IDE.
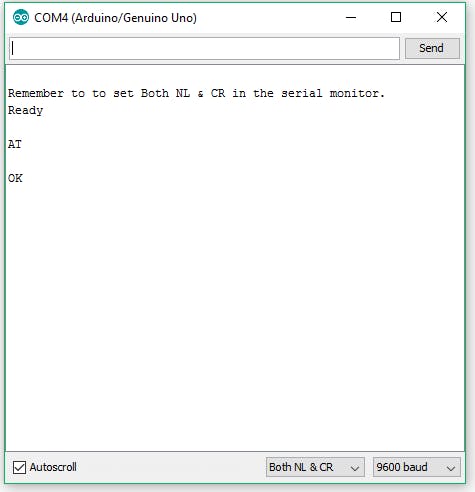
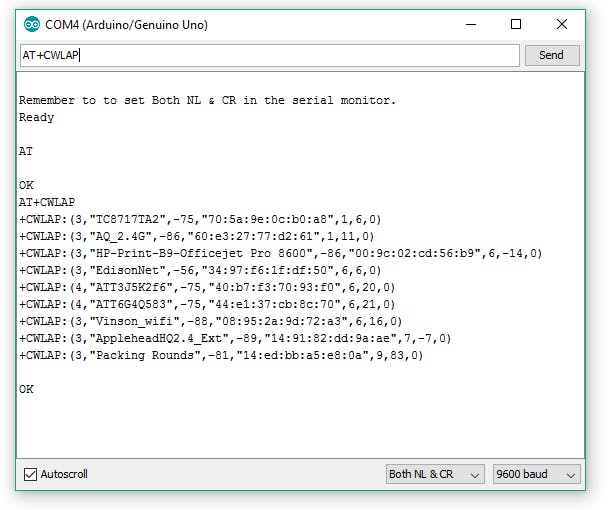
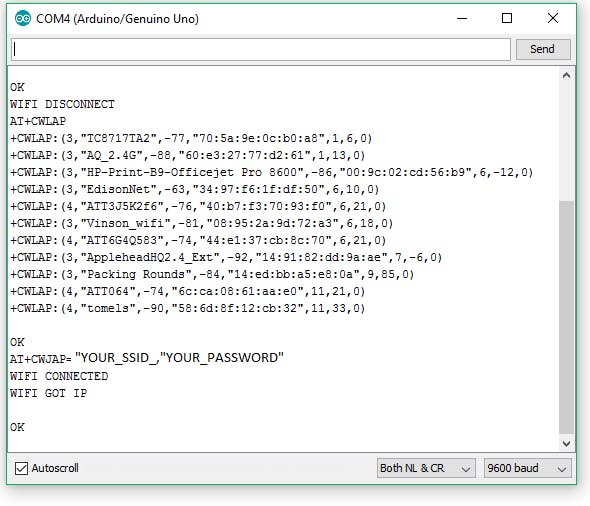
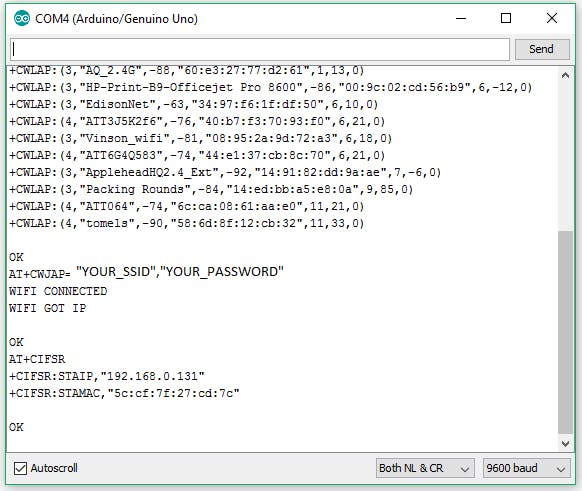
Today, we are examining how to configure it using Arduino UNO board.
ESP8266 is low cost Arduino compatible development board. It can act as a standalone board that runs Arduino code just as any Arduino compatible board. It can also be thought of as an Arduino Wi-Fi shield. In this concept, you can configure it and then use it as Wi-Fi shield that serially connects to Arduino. In the previous post, we learned how to configure connect and program the ESP8266 using USB to TTL converter that has 3.3v selector switch (FOCA). We can also configure the ESP8266 using Arduino UNO board as we’ll see in this post.
Here is how to install ESP8266 board into Arduino IDE.
I just followed the steps in this guide.
To install the ESP8266 board in your Arduino IDE, follow these next instructions:
First, I added the URL in the additional boards in the preferences page.
1) Open the preferences window from the Arduino IDE. Go to File > Preferences
Then I opened boards - board manager and chosen Install option.
2) Enter http://arduino.esp8266.com/stable/package_esp8266com_index.json into the “Additional Board Manager URLs” field as shown in the figure below. Then, click the “OK” button.
3) Open boards manager. Go to Tools > Board > Boards Manager…
4) Scroll down, select the ESP8266 board menu and install “esp8266”
The package is so large (about 157MB).
5) Choose your ESP8266 board from Tools > Board > Generic ESP8266 Module
Connection
Then I used FOCA instead of the FTD232 converter.
The FOCA board has the same pins as FTD232 board plus those pins in which you can connect XBee to your PC.
So it can be easily used as a USB to TTL converter.
Make sure to put the voltage selector switch on 3.3V so you don’t harm the ESP8266 board.
Test Circuit
This circuit is a simple LED Blinker that uses ESP8266 to blink an LED.
Code
/*********
Rui Santos
Complete project details at http://randomnerdtutorials.com
*********/int pin =2;void setup(){// initialize GPIO 2 as an output.
pinMode(pin, OUTPUT);}// the loop function runs over and over again forevervoid loop(){
digitalWrite(pin, HIGH);// turn the LED on (HIGH is the voltage level)
delay(1000);// wait for a second
digitalWrite(pin, LOW);// turn the LED off by making the voltage LOW
delay(1000);// wait for a second}





![A Trip To Siwa Oasis: Tourist guide to an Egyptian Oasis by [ElSakhawy, Sara M.]](https://images-na.ssl-images-amazon.com/images/I/51-IGAzLKML.jpg)
![The Ultimate travel bag list by [ Elskhawy, Sara M.]](https://images-na.ssl-images-amazon.com/images/I/51OlVgqIcwL.jpg)
![Why to Travel?: Travel Like an Insider by [M., Sara]](https://images-na.ssl-images-amazon.com/images/I/51BsVhmk3ZL.jpg)
![3 Easy steps to plan your trip: Travel Like an Insider by [Elskhawy, Sara M.]](https://images-na.ssl-images-amazon.com/images/I/51GRc%2BnSxAL.jpg)
![Solar Artwork: How to Make Your Own Solar Masterpiece by [Ebeed, Ahmed]](https://images-na.ssl-images-amazon.com/images/I/51wT6i0RXNL.jpg)
![Backyard Wind Turbines: Harness wind power with simple and fun projects by [Ebeed, Ahmed]](https://images-na.ssl-images-amazon.com/images/I/51JEcdMP8JL.jpg)



